Soap- I enjoy making soap from a self reliance perspective. Sanitation is really the cornerstone of civilization and that starts with being able to clean yourself and your immediate area. Beyond basic personal hygiene, it can literally save your life by sanitizing a wound and preventing infection. Being able to provide this service for yourself and your family could save a life one day if you find your self without modern medical amenities. As I am learning to do this as a hobby I am seeing that most people who make soap are coming from a different perspective, not that they disagree but most of these folks are women who just want to make fun bath stuff. I don't say this to be derogatory, many of them are masters of their craft, it was just not what I expected. Anyway, I started this page to write down, collect and share what I learn as I am learning to do various things and what I am doing now, is making soap!
First Attempt - Now I made a few attempts at this before with usable results but this is the first time that I am recording it for posterity and sharpening my methods. The goal over the next several iterations is to perfect, or at least get good at making, a simple recipe. We are going to be using 200g of water, 80g of lye, 500g of olive oil, 100g of coconut oil, 30g of scent oil (I will be using some scent oil I bought online but if you want you can can use essential oils for a more "natural" product.), and 1 tablespoon of salt. You may see liquids measured in grams and wonder about this. This is done for consistency and to keep proportions right. You can accomplish this by using the tare function if your scale has that or by just weighing the container and subtracting that from the gross weight. To over simplify it soap is the product of a reaction between fats and lye. If you want to know exactly how it works there is a great video on youtube by a channel called nilered where he gets pretty deep into it.
What I am going to do now is start by melting the coconut oil and mixing it with the olive oil. Once this is done we want to mix up our lye solution. Obligatory warning here; If you didn't know, lye can hurt you. Try not to touch it but it is not the end of the world if you do, just wash it off. Do not get it in your eye or drink it. If you needed that warning you may want to consider a different project or hobby. Now we are going to mix the lye with the water when we mix them the water is going to get hot and you may need to let it sit for a while to get closer to room temp. I am going to use 2 ice cubes to help it heat up less, not more than that though because if you make it too cold you could end up with "dreaded orange spots". I am not actually sure what it is but I am sure there is an optimum temperature, will have to look that up for next time.
Next what we want to do is carefully mix the lye/water mix into the oils and stir. We are going to add the table spoon of salt here and stir that in as well. The salt may sound weird but it is supposed to harden the bars which is good because home made soap is a bit softer than what you get from the store generally. Once it is uniform I am going to use a hand mixer until it comes to a light or medium trace. If you don't know what that is, it's like when you pour a thick batter and it takes a few seconds for what you poured to become one with the rest of the batter. I will try to put pictures below. Once we have the trace we can pour the soap into the mold. This part is optional but I like to do it.
Gelling the soap. There are a few ways to do this but what I do is turn the oven as low as it will go. For me that is 170 F for you it may be lower. Full disclosure 170 is higher than what I have read is recommended but it works for me, YMMV. Once it has reached temp I put the soap in and turn the oven off. After that I leave it in there for about 24 hours. It does not need the full 24 hours to gel, a few hours should get you there. If you don't want to leave it in the oven you can wrap is in a towel or put it in a cooler to keep it warm. This is something I will have to put pictures of below, kind of hard to describe but when you see it, it will become obvious. I do this because I think it makes it look better. If you used colors, they will be brighter and a bit translucent.
The initial process is done now. It will need to cure for 4- 6 weeks and in that time you may get soda ash or "DOS" but that is nothing to worry about, just improve the process and try again. Also just because it is ugly does not mean you can't use it. One more thing you will want to do is test the PH balance. It should be 8 - 10 but if it is a bit too basic you can always let it cure for a while and test it again, or use it for laundry soap but that will be a different post. If you made some or you saw an error here in, shoot me an email tastybleach@airmail.cc.
IMPORTANT: If you have never made soap it is a great idea to read the whole page but I'm not your dad so here is the quick and dirty version
-
What you'll need:
- -80g of lye (Sodium Hydroxide in this case)
- -200g of water
- -100g of coconut oil
- -500g of olive oil
- -30g of scent oil or essential oil
- -1 tbsp of salt
- -Scale
- -Stick Blender
- -Bowl
- -Soap mold
- -1 glass or pyrex measuring cup for mixing the lye water
- -Spatula
- Optional: Disposable cups and plates to measure ingredients and then set the soaps out to cure
- -Melt coconut oil
- -Mix with olive oil w/ coconut oil in bowl
- -Measure out lye and water
- -Mix the lye and water (this will get hot and will hurt you if you get it on you, be careful)
- -Once lye water is room temp mix with the oil and stir it in
- -Mix with stick blender until you reach a light trace, see above for what trace is
- -Pour into mold and let cure for 24 hours
- -Cut soap into bars
- -Let cure for 4 - 6 weeks
Basic instructions:
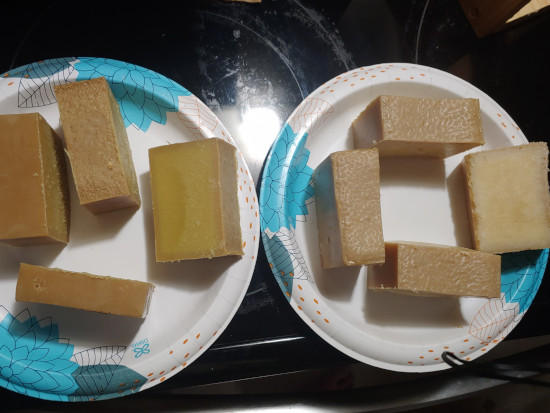
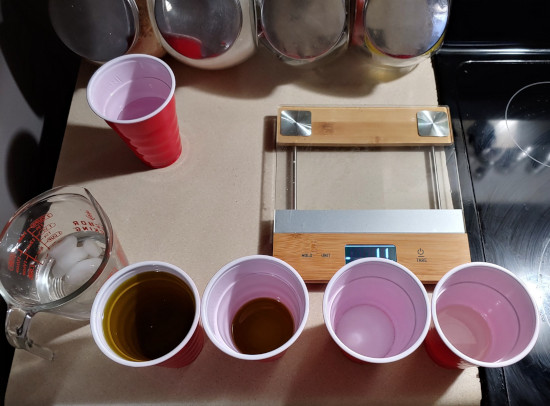
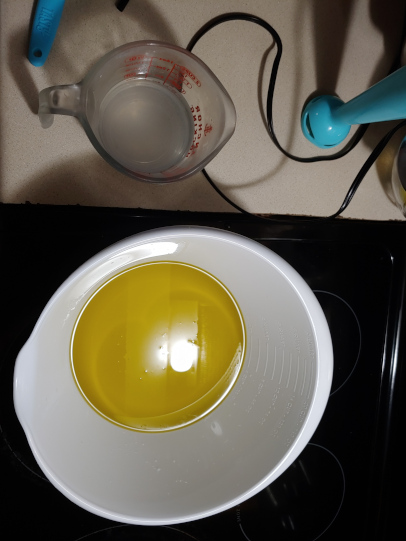
Regarding the pictures below the one to the far left there are 2 kinds of soap. The one that was made with from these instructions is the one on the left side of the picture. The one on the right is half talo and half coconut oil. In the middle picture we have water, olive oil, lye (sodium hydroxide), and melted coconut oil. In the last picture the oils are mixed together in the bowl and the lye water is mixed up in the measuring cup and about to be blended into the oil.